Showing posts with label Property. Show all posts

Thursday, March 24, 2016

Stairway to Joy

It is a stairway to joy because both these second floors pre-stairs were miserable to get to. The first second story area in the Workshop was for my office. It already existed when we bought the property on the west side of the shop but was open and just covered the top of the bathroom below.

We enclosed the second story, insulating it in order for it to be efficiently heated and cooled to use it as my office. After that we built the rest of the second floor on that side of the Workshop. The stairs to get to upstairs were already built and were AWFUL. Every step was a different height, VERY narrow and very steep. It was crazy and if I had a nickel for every time I cracked my shins on one of those steps blah, blah, you know the rest.

Ziggy was the only pup to venture up the stairs, even then it was a tad hairy for him, he didn't really like it. I carried Chinny up to hang out while I worked but I never let her walk down them and it made me nervous that one day she would try to get down herself and get hurt (yes, ridiculously hovering fur momma).

A little while ago we built the second story on the other side of the Workshop, the east side, for additional storage to free up more floor space on the main level. Since finishing that side we were using a ladder to get up and down which in itself is not convenient but also was tricky when carrying things up and down.

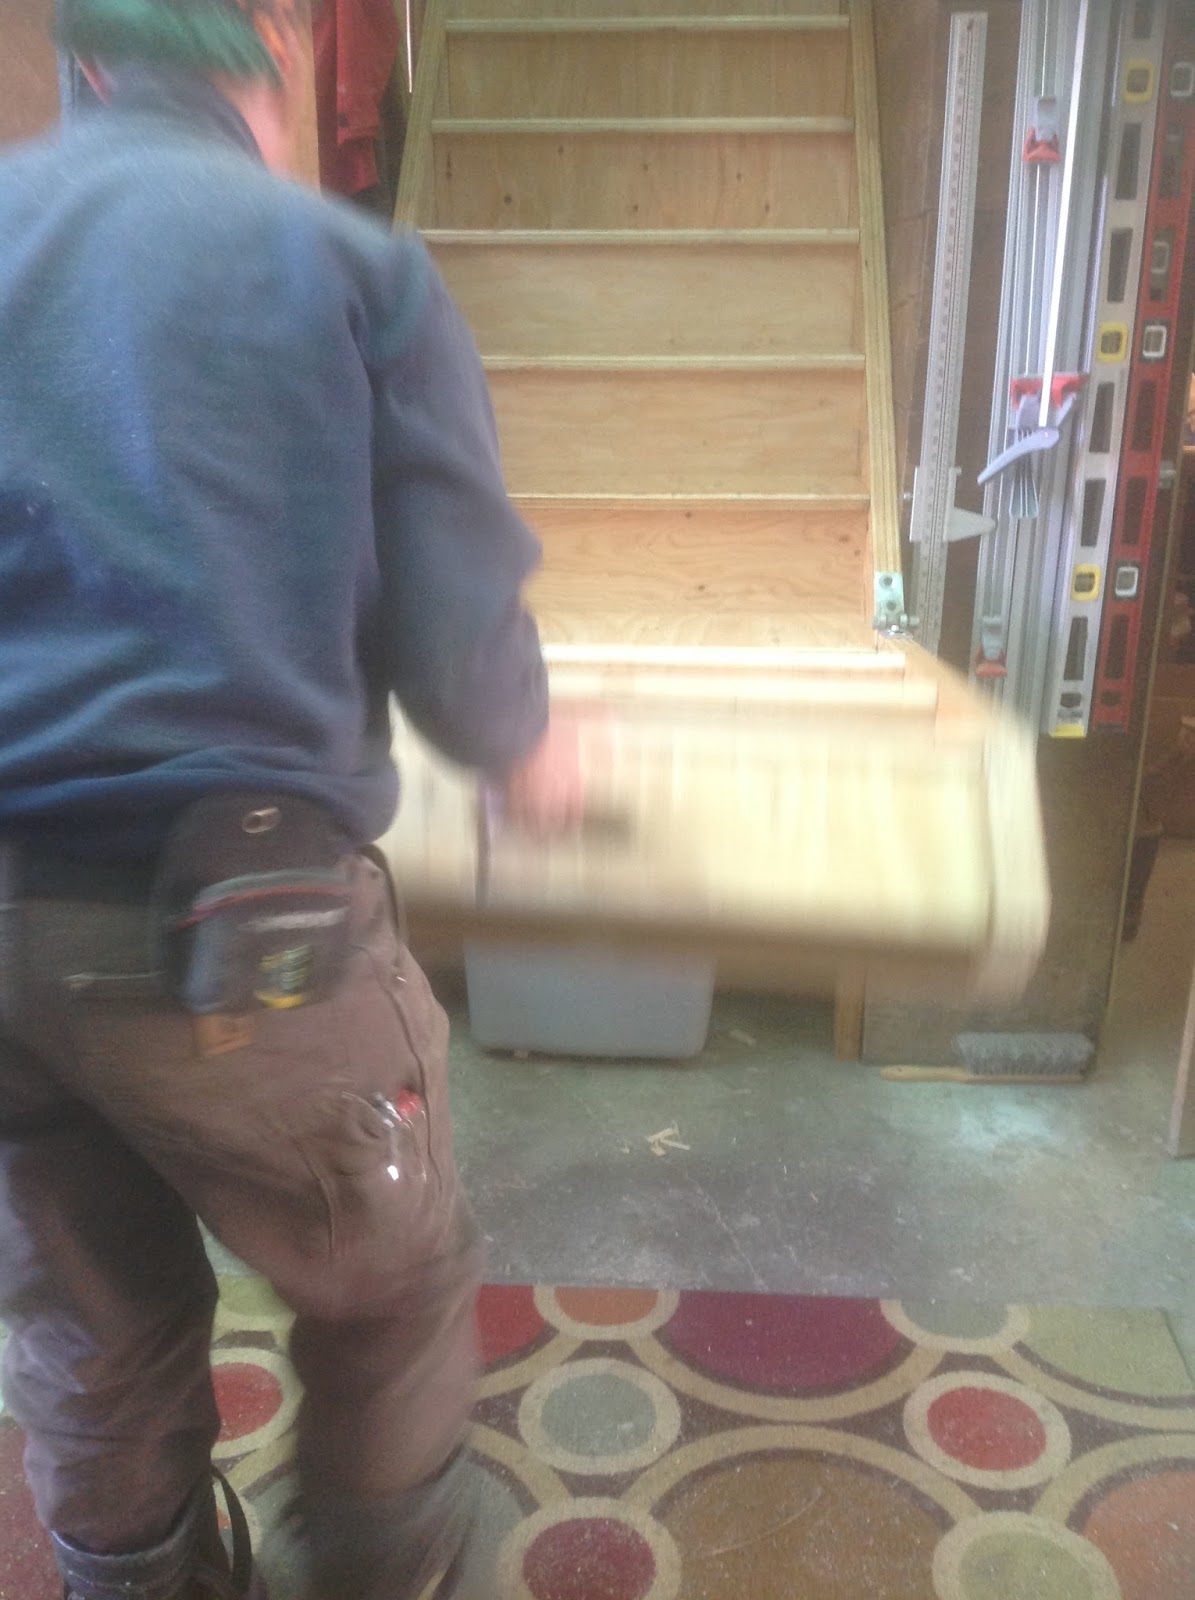
So we devised a plan to build two sets of stairs that were longer and with even risers but to do this the stairs would fall further into the open space of the main level. So we planned to cut the stairs and hinge them so we could flip them up when not in use and then flip them down to get up and down them.


It is definitely tricky building stairs and calculating everything you need to account for including the landings, length of the run and rise, number of runs and rises, total length of stringer yada, yada, yada. Fortunately there are many online tools to help with the calculations but sometimes you have tweak little things here and there and it is always hard to account for how little changes will effect the overall dimensions and layout. Sighhhhhh.


Well the great news is it all worked out in the end. We got both staircases built and hinged and they are AWESOME - cue angels singing in heaven. It is so cool that they are hinged and that works out so well. They are great to walk up and down and one more big project done!!


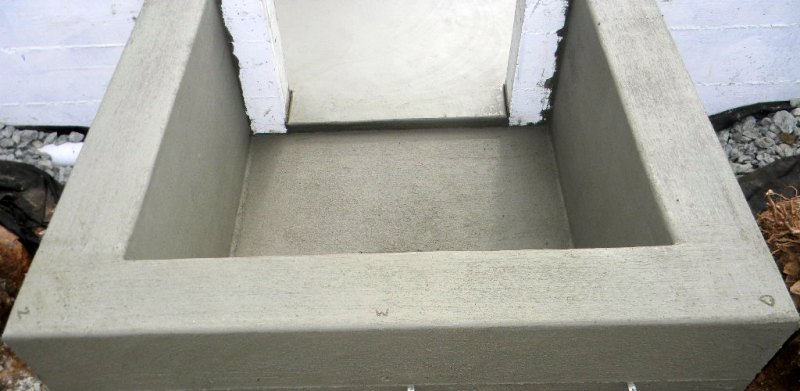
The other great thing about the stairs being done is now we have bonus storage underneath. The West stairs will be home to a new paint/caulk cabinet and the East stairs will house the new GIANT compressor and the dust collector. It is great to get more and more stuff off the main floor. Phew, glad this one is over.


We have also been insulating the shop, building new exterior doors, re-framing the north and south wall with new windows and the doors. Will post that progress next.


Wednesday, August 14, 2013

Hold on to your pants - we got us some plumbing

Really can't gush on this post, can't go on and on about the joys of plumbing and indoor running water and flushing toilets. It really is NOT glamorous, exciting, adrenaline rushing or remotely interesting at all.

But nevertheless in the name of full disclosure and just because I went to the trouble of taking the pictures I will share this momentous milestone with all of you.

The plumbing has proved to be a challenge as all the 'water' appliances are in the container side of the house and having sandwiched two containers together we don't have the luxury of an interior wall to chase plumbing pipes through. Hence there were a few renditions of the plan but Kyle finally came up with a layout that fit the house, that we could work with, with the finished look of the house and most importantly a plan that the County Inspector signed off on.

We needed to get all the plumbing pieces installed before we could have the spray foam insulation applied as it would be a huge ordeal to cut through it after the fact to run the plumbing through both in the walls of the exterior of the container and underneath the containers. Kyle also ran all the conduit for the electric underneath the containers so all we need to do is run wire to connect the dots.

The other thing we needed to do before we could even put most of the plumbing and electric in was to clean up the underneath of the containers. Sounds easy enough, it is cleaning........WRONG!
THIS WAS THE MOST DISGUSTING JOB AS OF YET ON THIS HOUSE BUILD. Did you hear me, DISGUSTING.

It involved laying on my back on one of those wheeled boards that car mechanics use with a metal grinding wheel in hand, eye glasses, gloves, a face mask, a face shield in 90+ degree weather and on the second go around, a doo rag as it took me days to get the rust pieces out of my hair. Grinding the rust off the underneath the containers was miserable. It went everywhere, in every crack, nook and cranny. I came out from that 2' crawl space each time covered head to foot in brown filth, I was filthier than any time from the horse days. So glad that, that job is behind me and done and the black widow spider was relocated (to the vacuum).

Anyway, onwards and upwards after buying about 200+ plumbing elbows, turns, angles, connectors, reducers and multiple other parts and pieces that seemed to have no name but all come in black ABS plastic.


It is tricky to plan the venting for every single toilet, sink, shower etc..and how they can all tie into one another so your roof doesn't look like swiss cheese. This one above is for the kitchen, overcoming the venting code to maneuver around the window directly above it. 


This is the downstairs bathroom for the sink, toilet and shower. We lucked out here because of the site built wall between the bathroom and laundry room directly behind it.


This is the master bathroom, difficult to overcome some challenges here as there is the structural red iron on the exterior of the house that we cannot drill through so took some ingenuity on Kyle's part. And again the window issue above the sink came into play. This design resulted in some unique design finishes that we came up with so stay tuned for that down the road.


This takes the downstairs bathroom vent up to the roof. This runs through the master closet and will get chased out.  


Drainage from the master bathroom shower (above) and toilet (below) that come down into the utility room and back hallway, respectively and the hallway will get chased out.


Our clean-out, the final chase design will provide a small broom closet here that will allow access to the clean-out.


So once all the plumbing and venting network is in place the openings to the fixtures get covered up and then the entire system gets filled with water to ensure that there are no leaks. Here is Kyle filling the whole system from the roof top. It was actually kind of fun and SUCCESS first time. Way to go baby, nice planning and install. Who needs a plumber and we have INDOOR plumbing. It was all worth it.


And a moment to appreciate the nice view a the end of it all. Phew.....now on to the next thing - insulation!


Wednesday, March 20, 2013

Spring has Sprung - I hope

Spring has sprung in N.CA and the walnut trees are gorgeous and the tulips are out in full force. The weather (touch wood) has been amazing with temps up in the 70's and bright sunshine.


We (Kyle) have been hard at it on the house but it is frustrating period finishing up all the structural nitty gritty. It is laborious and not a little bit satisfying, in that when you have finished a hard day on a ladder drilling and screwing and there is NOTHING to show for it. But it all has to be done and per the Kyle factor, done perfectly.


I have been able to mow twice already which is great and an improvement over last year getting it mowed so early so we can enjoy green, park like grass.  And as always, cutting the grass, THE most satisfying chore, I love it.


We have been able to start cutting out the ceiling of the upstairs containers. It looks so different and it is great to get so much light in. You can see where the ladder is, will be a window that is in our walk-in closet in the master bedroom.


One problem we had to take a break from the house to solve was THIS.....yes, can figure out what is wrong with this picture. Two criminals on the WRONG side of the gate. The big fluffy one figured out how to open the gate and that was that.


So we bought an automatic gate lock that works in conjunction with the automatic gate.


We installed it in an hour or two with fluffy watching the entire time. He hasn't even tried to open the gate since, he is way too smart for his own good. I am waiting to see his next magical escape trick and where he will sneak out through next.


I think we are ready to schedule our structural inspections so that is the next on the list and Kyle is picking up the metal for the windows on his way home this week so cutting them out is coming.

Sunday, October 28, 2012

Wanna Build your Own House - Think Again

Daydreaming of building your own home, fantasizing of hammering a few nails and brandishing a stunning sanctuary, imagining sunny days filled with painting trim as little birds tweet and butterflies flutter?

Think again.


This week was one of those when you wish you lived in an apartment with no maintenance, no upkeep and someone else suffered through the torrential rains to get the darn thing built.

We got our first rain in Northern California, first time since April. Of course Mother Nature once again ignored California's rules of weather. I find it amusing that when I moved to California I was told that it DOES NOT rain between May and October - EVER, and there is a snow LINE below which it doesn't snow. Of course, Mother Nature has other thoughts and uses these as more a guideline for her events.

Hence our first major rainstorm of winter hit this week and it wasn't joking around. Saturday night Kyle and I - in the dark, laid plastic over the half finished roof of the spare bedroom in an attempt to keep the trusses dry through the anticipated rainstorm. Kyle went off to work and Sunday brought fine weather, no issues.

Then Monday came, I checked the plastic Monday morning, still in place, all okay. Checked again just before lunch, UH OH, half of the plastic is now blowing in the wind as the storm ravishes through the area bringing high winds and unrelenting rain (that is my meteorologist speak).

So I don Kyle's big yellow raincoat and boots (because I work at home I am normally in my slippers) and ran down to secure the plastic. And what an ordeal that was. Every time I got the plastic positioned the wind came up and blew it off again, every staple I shot to hold the plastic, the wind just ripped the plastic from it. The other problem, the land around the house has not been graded and so as it got really muddy and is uneven it made it impossible to sit a ladder on straight.

Then the water had accumulated and pooled in between the rafters which made the plastic too heavy to move back into place. Of course as I climbed the ladder to poke holes to allow the water to drain out, each time it drained straight down my arm and drenched my entire self. By this time I was soaked to the skin, my hands were frozen stiff and the plastic was still flapping in the breeze.

Plan B. Let it get wet. And it did.

Definitely a day of house building I would rather forget.

Sunday, July 29, 2012

Dang Ditches


You might remember my mom's VERY generous wedding present to us when we got married last October - the backhoe. Well it has been a life saver quite a few times through this whole house building process. We have used it to plant trees, install fence posts and re-route all our water piping.


Now it has come to our rescue once again as we dig the trenches to lay the water, gas, electrical and sewer lines to the house. We are relocating the propane tank and the generator to a newly laid pad to the south of the house which will have the solar hot water panels suspended over them.  


Thus we need to trench lines to and from the house to feed the gas, hot water and the poop bipedal organic excrement transit vessel which runs more southwesterly direction.


Of course nature laughs her posterior off at us by placing some honkers of rocks in the way which are going to require renting a jackhammer - AGAIN to get them out.


And even though the backhoe is a lifesaver and does the majority of the heavy lifting, it still requires a little old school action to clear extra debris, smaller rocks and level out the bottom of the trench. Just call me Manual Labor, I feel like Scarlett O'Hara with my blistered laptop adapted fingers.

 "Look at my hands. Mother said you could always tell a lady by her hands." - Gone with the Wind (1939)


Saturday, June 30, 2012

V-Buck window frames

As we jump in and get started with ICF portion of the house it starts with getting the windows and doors framed out so we will know where to cut the ICF blocks around these openings.

Enter V-Buck - this is a vinyl product that can come in pre-formed frames according to your window sizes, lengths that match your window sizes for your form on-site or you can just order whole lengths that you cut and form into your window frames according to what windows you have designed. We chose the latter of these options as:
1) they are not hard to cut and form together
2) we have made little tweaks here and there to our window schedule along the way so it left us the flexibility to make any last minute changes we might want
3) it was cheaper to do the work ourselves and ship them in long pieces.


So these are how the lengths arrived from V-Buck courtesy of Bruce Anderson. These frames that the windows will sit in will only go into the ICF portion of the house. The container windows will sit in a metal frame welded to the container cut outs.

Needless to say my first order to Bruce for the V-Buck included lengths for ALL the windows. Bruce thought we have doubled the size of the house since we got our first quote from him. A quick call back to revised the total length fixed the problem and then the lengths arrived. Unfortunately, I also didn't figure out how we were going to maximize our cuts from these 16 lengths of 16'. Obviously you can't really patch two lengths together to the length you need should you end up with off cuts. Ughh.....where was my OCD planning?

We spent a few minutes running through all our possibilities on paper on how to maximize our stock to get all the lengths we needed but came up one length short. Then I figured there must be some free computer downloads that could utilize algorithms better than we could to find out optimal cut layouts that would get all our lengths out of these 16 pieces.

Off to the computer I ambled and 3 hours later, a few downloads it was determined that we weren't half bad with our calcs and that yes we do need one more length and in fact we came up with a better layout for our cuts than the programs did - HA!

The first program I downloaded was an add-on for excel called 1D Cut X. I am a HUGE lover of excel and thought this was a perfect solution. 


It was rather disappointing. No matter what I did it kept telling me I needed 18 lengths and not the 17 we had calculated. 


So then I downloaded an independent software called 1D Stock Cutter from Astrokettle Algorithms (what a great name). This was FANTASTIC, you could set it to reduce your number of layouts or optimize your leftover length. This last one seems to be pertinent to those in industry to maximize leftover stock. A very cool program and it just verified that we do need one more length. 


This is the layout print out that the 1D Stock Cutter provides you, it is so easy to use and follow. I highly recommend it.

So the first thing I did was to order the three remaining lengths that we needed at their specific lengths as this would be cheaper for shipping than just ordering one long length. V-Buck is a cool product and is completely recycled vinyl out of Utah.


Here are all our lengths cut out to size to match our window schedule. They cut like butter but they produce tiny little pieces of vinyl confetti that floats everywhere. At first it is so cool and fun and then you realize it is in your ears, down your underwear and just gets everywhere.


V-Buck also provides you with the connectors that attach the sides together as well as the braces for the corners that keep the frames square. It is so easy it almost feels like cheating especially after working in the containers where the whole process is figuring it out as we go and having to be very ingenious with our solutions. V-Buck is like building with legos, cut and click!


Here is our first window frame complete, it is really lightweight but the funny part is that this is a 5030 window, a size of window that we don't have in the ICF. The beauty of these frames is that you can just pop it apart and stick in the different lengths to make it the right size.

One down, 14 more frames to go.....


Sunday, February 12, 2012

Second Concrete Pour

Friday was another bright and early morning meeting a concrete truck or two to pour the floor for the crawl space, and the walls and floor for the well access to the crawl space.


Not that this is the most exciting process but it provides us with a lovely smooth surface to try out some concrete finishes so we can choose what we want to do to the final floor surface on the house floor.


Hard to see but I engraved Ziggy, Denali and Wolf initials in the concrete. We will probably do their paw prints in the back patio concrete later on.


Then the floor was poured, this part is pretty cool. It looks like glass when its done, such a satisfying process.  


Tricky part is grooming the concrete till your stuck in the corner.


So now you do the big reach....


and then the long pole comes out.


Then you can kick back and admire your hard work and hope to goodness a dog doesn't come along and jump in - goodness knows they tried!


So next step is .....drumroll.......the part everyone has been waiting for. The containers!!!

I think Kyle found the best ones so we just need to get a few more pipes and drainage installed and give the concrete time to set up and then we can get them delivered and get the crane to place them.

Stay tuned.


Thursday, February 9, 2012

Compromise

There is action at the building site, just not visual changes. The footings are in and sealed and the drainage is placed around the foundation perimeter.

This week the interior of the foundation was leveled and filled with gravel and the crawl space was prepped for its concrete pour. After our second county inspection this morning we are set to pour the floor of the crawl space and the well area that will provide access to said crawl space. Such exciting stuff......

One thing that we run into again and again with this building adventure is certain people's refusal to do things differently from what has ALWAYS been done. I understand the "if it ain't broke, don't fix it" but in reality much of it is broke and does need fixing. Yes, most of our homes keep us dry and somewhat warm but they could keep us a lot warmer for a lot less work ($) and they could be built a lot stronger and last a lot longer will less maintenance.

When we started this process one of our missions was to use as many resources that were located close to home, on the divide, in the county, certainly in the state, as possible. We ran into many people right off the bat that didn't want to do any work for us - too weird. Even to the point that one structural engineering entity in the next town over told we COULD NOT BUILD THIS HOUSE, it was impossible. Well, you just chuckle and say thank you very much and move on to prove them wrong.


As much as we want to utilize local resources, we also want to be green and use better building products and processes and when locals aren't up for it we are forced to move further afield. We have accepted it, but we did offer it up to our neighbors first. It is a shame that so many just won't think out of the box and take on a different challenge. We are aware that it might cost more or take longer - use us to try it out, what else are you gonna build right now?

On the other hand we have been lucky to use locals quite a bit to date. Our surveyor, geologist, engineer, excavator, and concrete guy have all been locals and they are great to work with. They all know each other, work well together, are very laid back and easy to get along with. Up until now our concrete has been sourced locally on the divide but they aren't really thrilled about some of the concrete selections we have for the slab and ICF walls (fly ash and lightweight) so we will have to say goodbye to them and move a little further afield. Such is life.

And though our windows are manufactured in Colorado (not many California manufacturers to choose from for windows) the ICF (Insulated Concrete Form) blocks are manufactured in Bakersfield, CA! Yeh, B-Field! I will do a resource post soon and list where we got everything.

The entire building process is a real eye opener and there is no way anything can prepare you for the real thing. Like the county that wants to inspect the tissues you use to blow your nose, do the holes in a french drain face up or down (thanks Google!) and how many pizzas do you need to order for the entire concrete pumping team? It's all the little details, small decisions to make everyday and dealing with me constantly changing the house design and being told I can't put a door there because it is a bearing wall......UGH!

So another concrete pour tomorrow - stay tuned!

Monday, February 6, 2012

No Turning Back

When its been set in concrete there is a certain finality, point of no return. You can't sell a piece of land with footings for some random house that most people wouldn't want finished let alone with all this work to do yet.


So Friday morning dawned with a feeling of full force forward as we watched the first concrete truck rumble down the driveway - only to have it stuck in the mud 1 minute later. Oh, the joys of building in the winter.

Fortunately everyone moved quickly and we got gravel under the tires and it was able to haul its own immense weight out of the deep ruts it had made. So on we go.


Along with the concrete trucks themselves we had a concrete pumper, here is the pumper above.


Of course what else do you call yourself when you are a cool concrete pumping dude, his real name is Ed and he rocks. Its amazing to watch this thing in action, Denali was very scared of the big black hose that seemed to have a life of itself as concrete pumped through its entire length.


Working with concrete is a bit stressful on the day as its a combination of wait, wait, wait - MOVE, MOVE MOVE. It took a small army of guys moving through the forms and multiple layers of concrete, so they went around the whole foundation a few times.


A little snippet of it all happening.


The hammering you can hear is their version of vibrating. You need to vibrate concrete in a form to get rid of air bubbles and make sure all the concrete settles evenly. With a big area like this they just hammer the sides of the forms to settle the concrete into place.


Here is the finished product and below are the footings for the mid-wall that will run between the living space and the second bedroom. And you can see Jim from Precision Concrete trowel finishing off the top of the footing walls.


The next morning the forms were removed and beautiful concrete walls were exposed. They really came out well.


After the walls were cleaned and removed of excess debris, Kyle coated the exterior walls and the interior drainage wall with dry-loc as an additional waterproofing before the gravel and drainage pipes are added around the exterior and on the interior wall where there is drainage.

Next step is adding the drainage and concreting the floor of the crawl space. Then the containers!!!